With there being so many way to decorate this pack, creating something unique for your wedding has never been easier! The different use of colours and textures in this craft makes it such a fun piece for the venue decoration, whilst also creating a handcrafted feel that gives a personal and warming feel to any wedding or engagement party! So here are some ideas for your very own using all Country Baskets product, why not take some inspiration and have a go yourself?
What you will need:
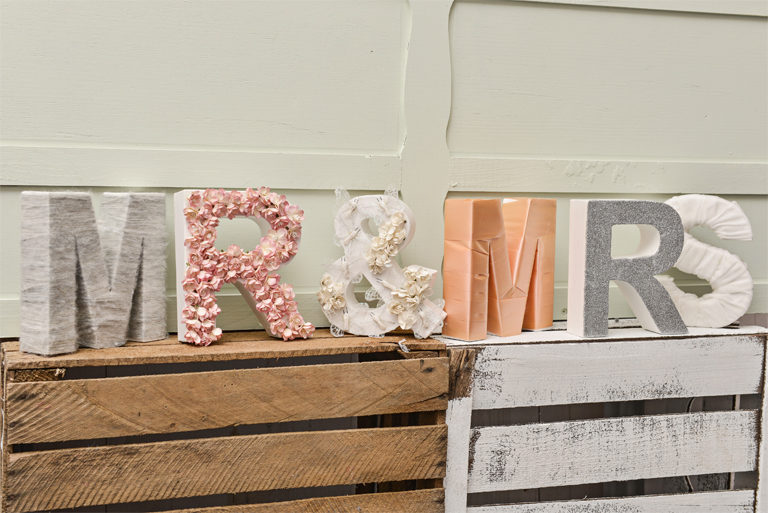
Paper Mache Mr & Mrs
Glitter Butterflies in White
Flower Glitter Silver
Paper Cherry Blossoms in White
Paper Cherry Blossoms in Pink
PVA Glue
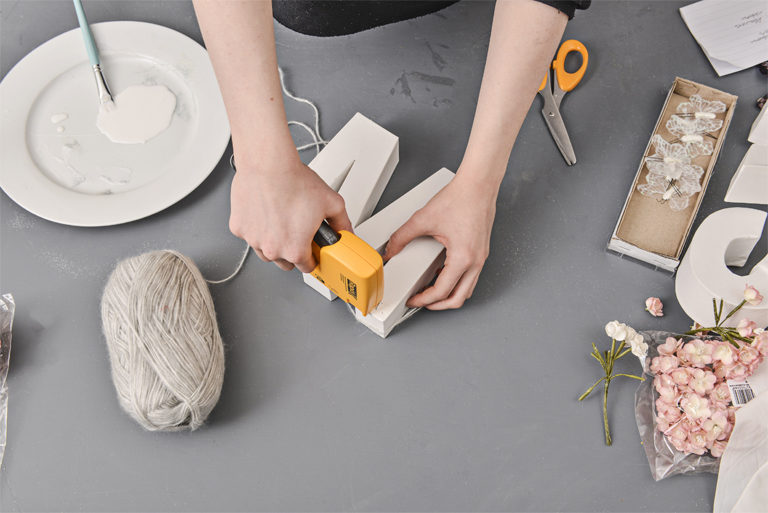
Hot Glue Gun
White Velvet Ribbon
Peach Satin Ribbon
Step One:
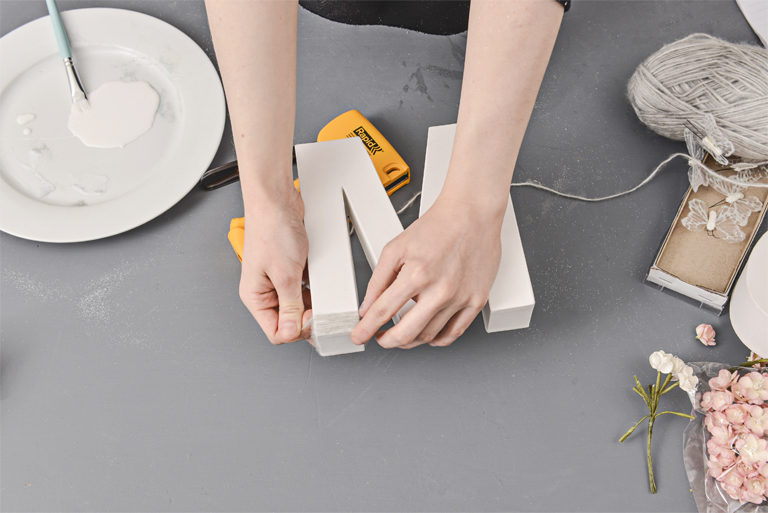
Starting with the first 'M', staple the end of the thin grey wool to the base of the letter. This is the perfect time to decide which side will be the front as all of the staples and ends need to be at the back so they can be hidden.
Now, start to the wrap the wool around the letter keeping the strands close together ensuring that you can't see through the wool to the paper mache. This will also improve the overall look.
Step Two:
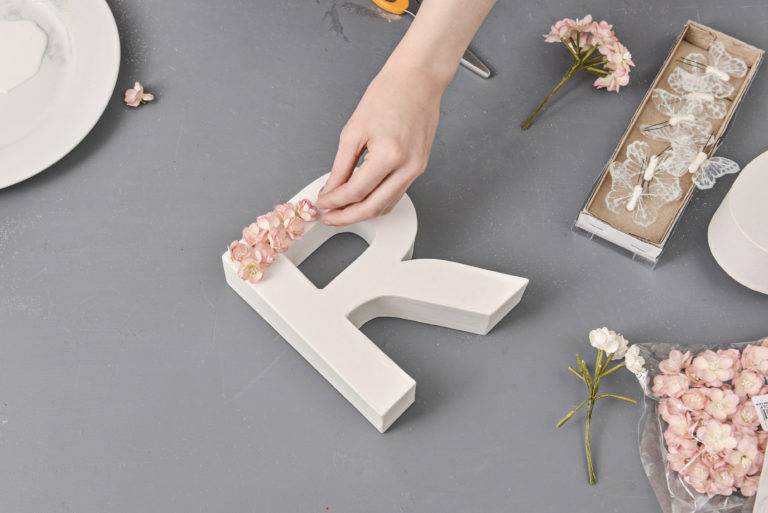
For the next letter, I cut the flower heads from the Cherry Blossoms. The best way to attach these is with a glue gun as the large amount of texture makes it difficult to secure anything else.
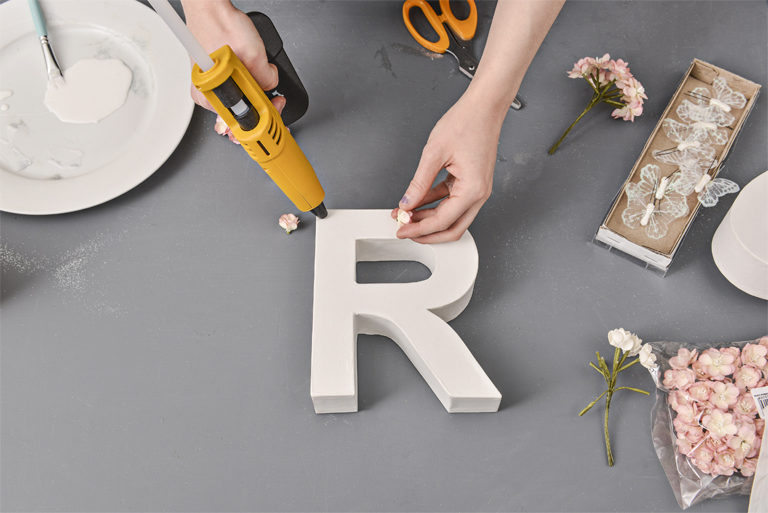
Making sure that the whole surface of the letter is covered is important, this can be achieved by sporadically gluing the flower heads instead of in organised lines.
Step Three:
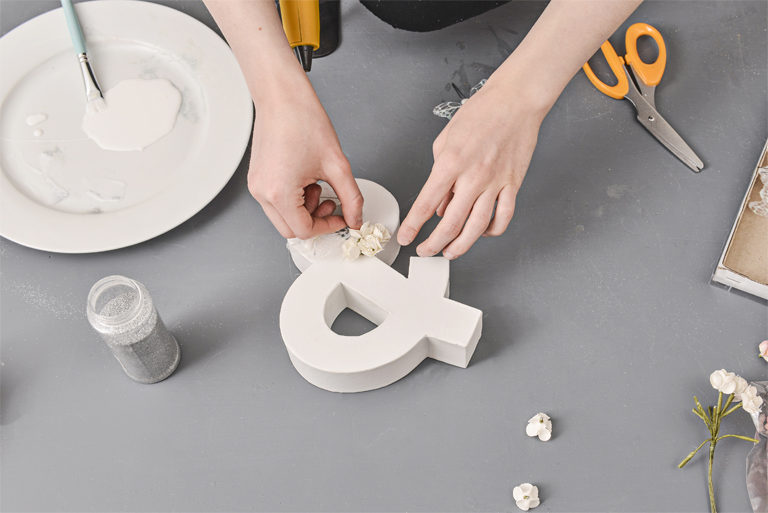
Start by applying some of the hot glue to the next letter and placing the butterflies and flower heads in a manner that fits together. Securing the butterflies first and then placing the flowers around them will give the best effect.

As a different effect is desired for this letter, the fact that there will be gaps in between the butterflies and flower heads doesn't matter, as long as the letter looks full.
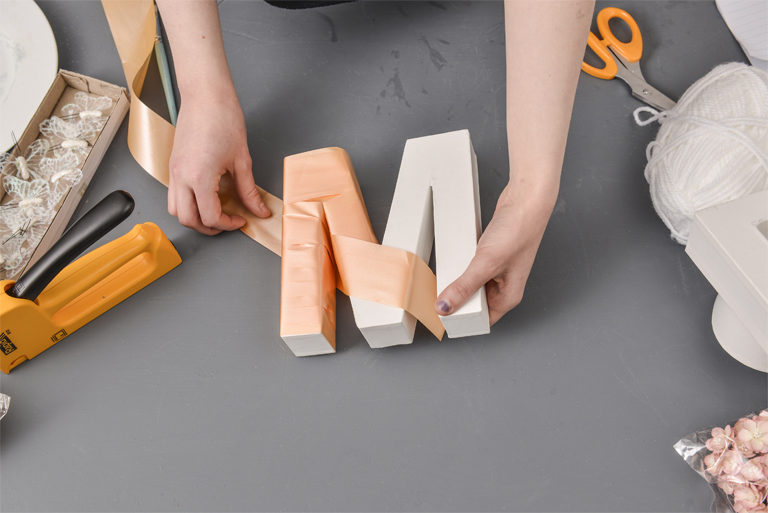
Step Four:
Start by securing the end of the ribbon at the base with staples and then wrap the length around the letter working your way up. Due to the shape of the letter, the ribbon will need to be wrapped in separate sections to ensure that the ribbon sits on the paper mache smoothly.
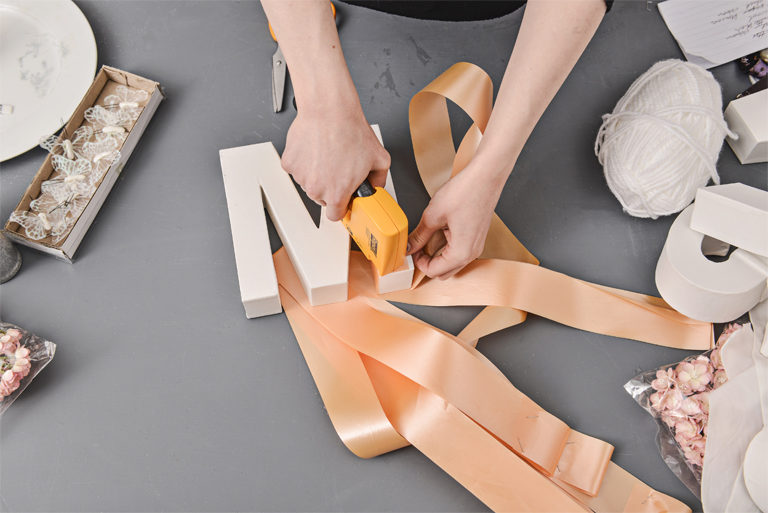
It is important to make sure you decide a front to this letter as well, due to all of the stapes securing the ribbon will need to be at the back so they can be hidden.
Step Five:
Start by applying a generous coat of PVA glue to one surface of the letter, ensuring that this coat is smooth. It is worth working quickly at this point, to make sure that the glue is still wet for when you start applying the glitter.

Next, pour the glitter onto the glue which has been applied to the surface. Using a generous amount will mean that their is a good coverage and the paper mache can't be seen through.
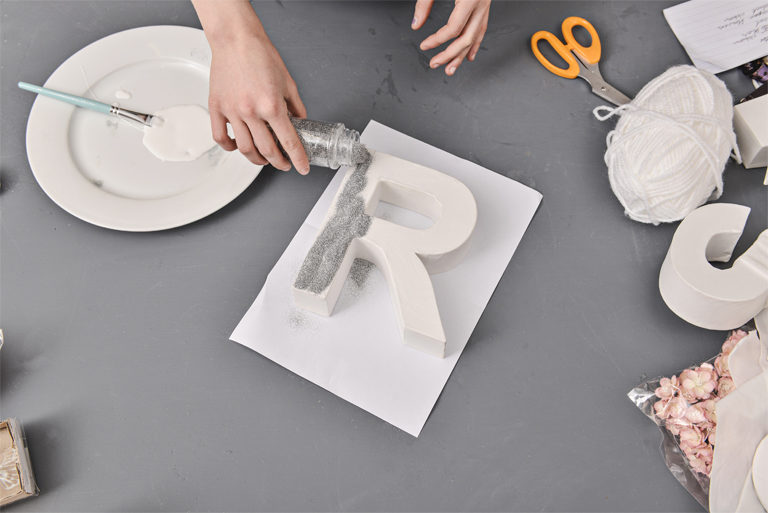
Then knock the excess glitter off so the surface is smooth.

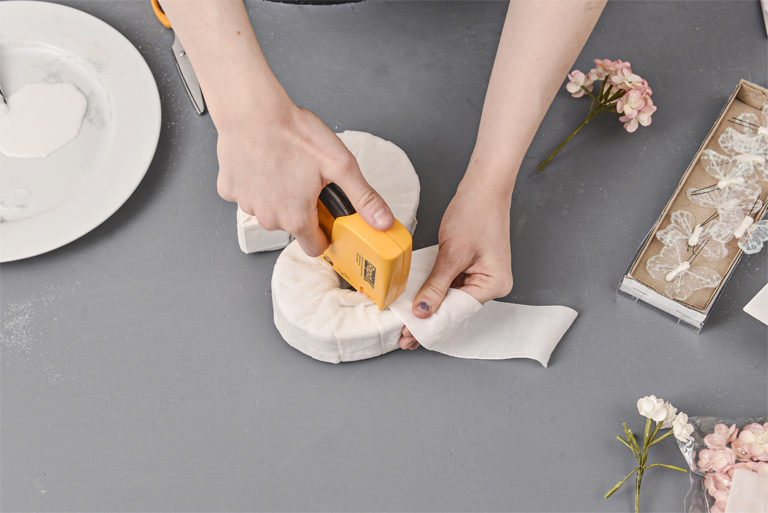
Step Six:
The last letter is covered using velvet ribbon, due to this material being more flexible than the previous ribbon it looks effective when gathered around the corners of the letter.
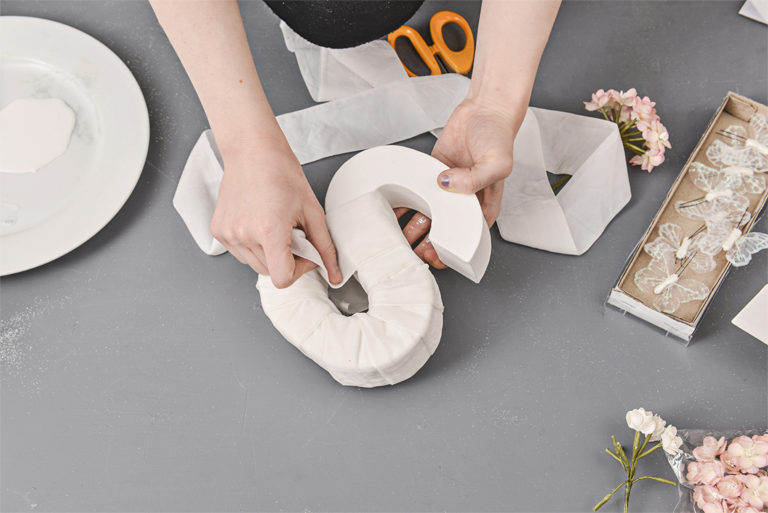
This means that the whole letter can be covered with one length of ribbon as it doesn't need to be smooth.
Also, make sure to follow us on all of our social media for even more crafty ideas and inspiration!